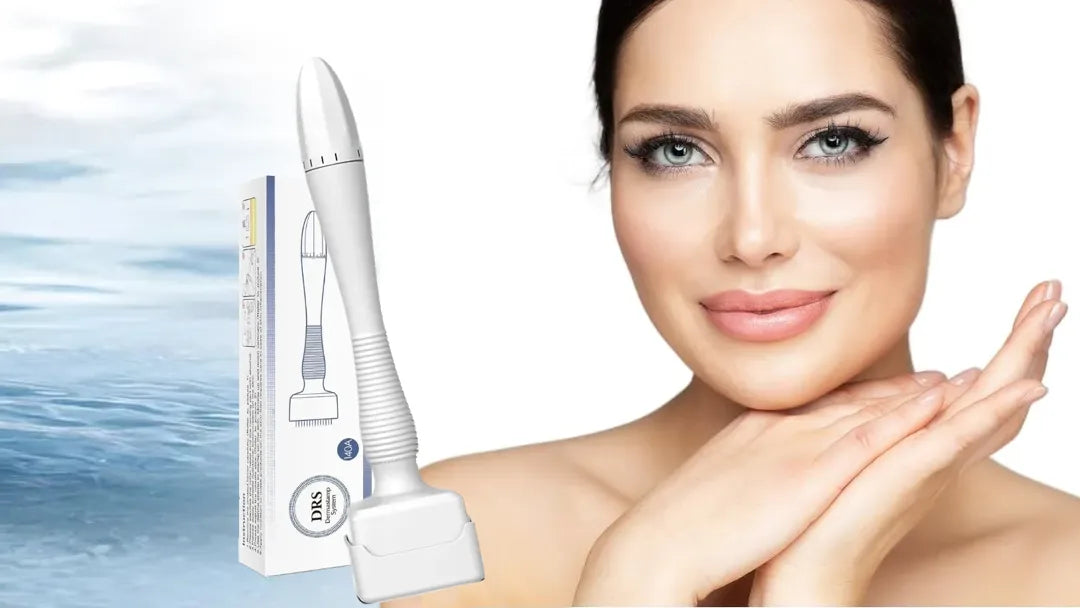
Shine bright like a diamond: The derma stamp is a gentle and efficient solution to make your skin look smooth and beautiful. Adjustable needle length - from 0.5mm to 3.00mm. Cone-shaped individual titanium pins. Protective needle cap.
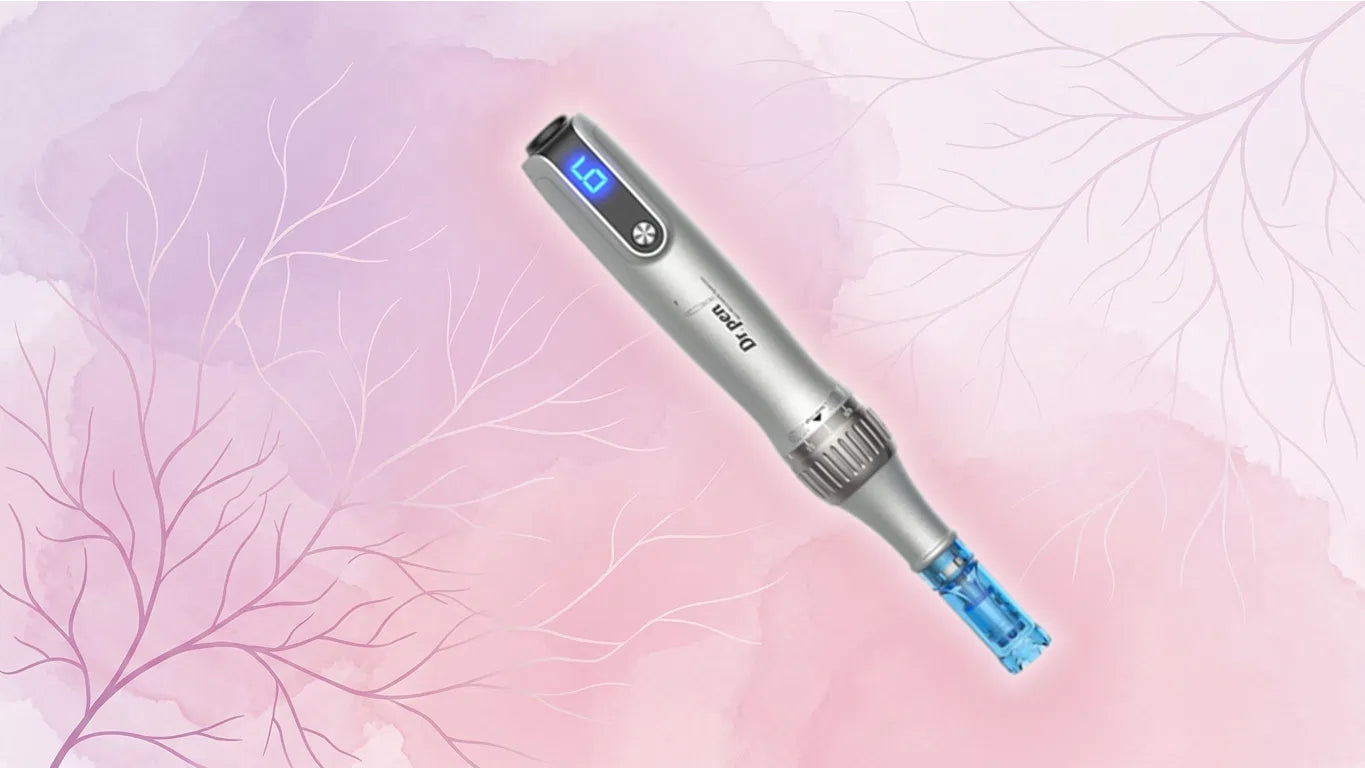
Derma stamping is a straightforward yet highly effective technique that can yield remarkable results when performed consistently over several sessions. This method utilizes a device known as a derma stamp, which features a cartridge equipped with a flat needle head attached to a long handle. Unlike rollers and Dr. Pen microneedling pens, these cartridges remain stationary and do not roll or vibrate. As the name implies, the process involves manually stamping the targeted areas of the skin. This technique is particularly beneficial for addressing hair loss and scarring concerns.
How do derma stamps work?
Similar to other skin stamping methods, derma stamping creates controlled micro-injuries to the skin, enhancing the body's natural healing response. This process triggers collagen and elastin production, making noticeable improvements in the treated areas over time. With each session, you can expect to see significant rejuvenation and revitalization of your skin, making derma stamping an excellent choice for targeted skin treatments.

Reduced Skin Trauma: One of the primary advantages of derma stamping is its ability to minimize skin trauma compared to other methods. Since the tool is not dragged across the skin, users often experience less redness and bleeding after the procedure. While some redness and mild swelling may still occur, these effects are generally less pronounced when the technique is executed correctly.
Effective for Hair Restoration: Derma stamping is particularly beneficial for addressing hair loss. It enhances the size and strength of hair follicles by modulating chemical signals in the scalp through a controlled trauma process. Additionally, this method significantly boosts the absorption of topical hair restoration products. When applied after stamping, these products can penetrate the newly created micro-channels, improving interaction with hair follicles and enhancing growth stimulation.
Shorter Treatment Sessions: Although derma rollers and pens offer easy use and broad coverage, derma stamping is more efficient for targeted areas, such as the forehead or shoulders. This makes it ideal for shorter, focused treatment sessions.

Shine bright like a diamond: The derma stamp is a gentle and efficient solution to make your skin look smooth and beautiful. Adjustable needle length - from 0.5mm to 3.00mm. Cone-shaped individual titanium pins. Protective needle cap.
Minimized Recovery Time: Many users find derma stamping less painful than derma rollers or pens. However, individual experiences may vary based on the needle length and the pressure applied during stamping. As with other devices, the level of discomfort is influenced by personal pain tolerance and whether a numbing cream is used before the procedure.
Cost-Effective Solution: Similar to derma rollers, derma stamps are budget-friendly compared to advanced microneedling pens like those from Dr. Pen. While these sophisticated devices may seem intimidating for beginners, our derma stamp has an affordable price at just $14.99.
User-Friendly Design: The Derma Stamp's simplicity makes it an excellent choice for newcomers. As the name suggests, the application repeatedly stamps the desired treatment area, making it straightforward and accessible.

Step 1: Sterilize Your Derma Stamp
Before starting your treatment, ensuring that your derma stamp is entirely sterile is essential. To do this, immerse the tool in an isopropyl alcohol solution, guaranteeing that the needles face downwards. Allow it to soak for a minimum of two minutes. Remember to repeat this sterilization process after each use to minimize the risk of infection.
Step 2: Set the Needle Length
Derma stamps feature adjustable needle lengths to accommodate various skin sensitivities. A shorter needle is recommended for sensitive areas around the hairline, while a longer needle can be used for less sensitive regions. Properly adjusting the needle length is key to achieving both practical and comfortable treatment.
Step 3: Clean the Treatment Area
Thoroughly cleanse the area you intend to treat, ensuring it is free from dirt and impurities. This step is crucial, as a clean surface enhances the effectiveness of the derma stamp and reduces the likelihood of skin irritation.
Step 4: Application Method
Grip the derma stamp like a pen, which allows for controlled and gentle pressure. Apply the stamp to your skin using either a vertical or crisscross motion. Press lightly and repeat the stamping process up to ten times in each treatment area. The goal is to cover all regions targeted without excessive pressure on any single spot.
Step 5: Clean the Derma Stamp After Use
After each use, rinse your derma stamp under warm water to remove any product or blood. Disinfect it by soaking it in an antiseptic solution like alcohol, then let it air dry thoroughly. Store it in a clean, dry container. Consistent cleaning is essential for safe, continued use.
Important Reminder: Avoid Sharing Your Derma Stamp
It is crucial never to share your derma stamp with others. Sharing can lead to the transfer of bacteria, significantly increasing the risk of infection, which undermines your treatment objectives.
Derma stamping offers a compelling, affordable, and user-friendly solution for skin rejuvenation and hair restoration. Its targeted approach minimizes discomfort and recovery time, making it a practical home-use option. Users can consistently follow proper sterilization and application techniques to improve skin texture, scarring, and hair growth.
Minimize Your Spider Veins with Microneedling
Discover how microneedling for the neck and chest helps reduce wrinkles, improve skin texture, and restore firmness by boosting collagen production for smoother, healthier-looking skin
Smoking after microneedling can slow healing and reduce results. Learn how nicotine affects collagen, recovery time and skin regeneration