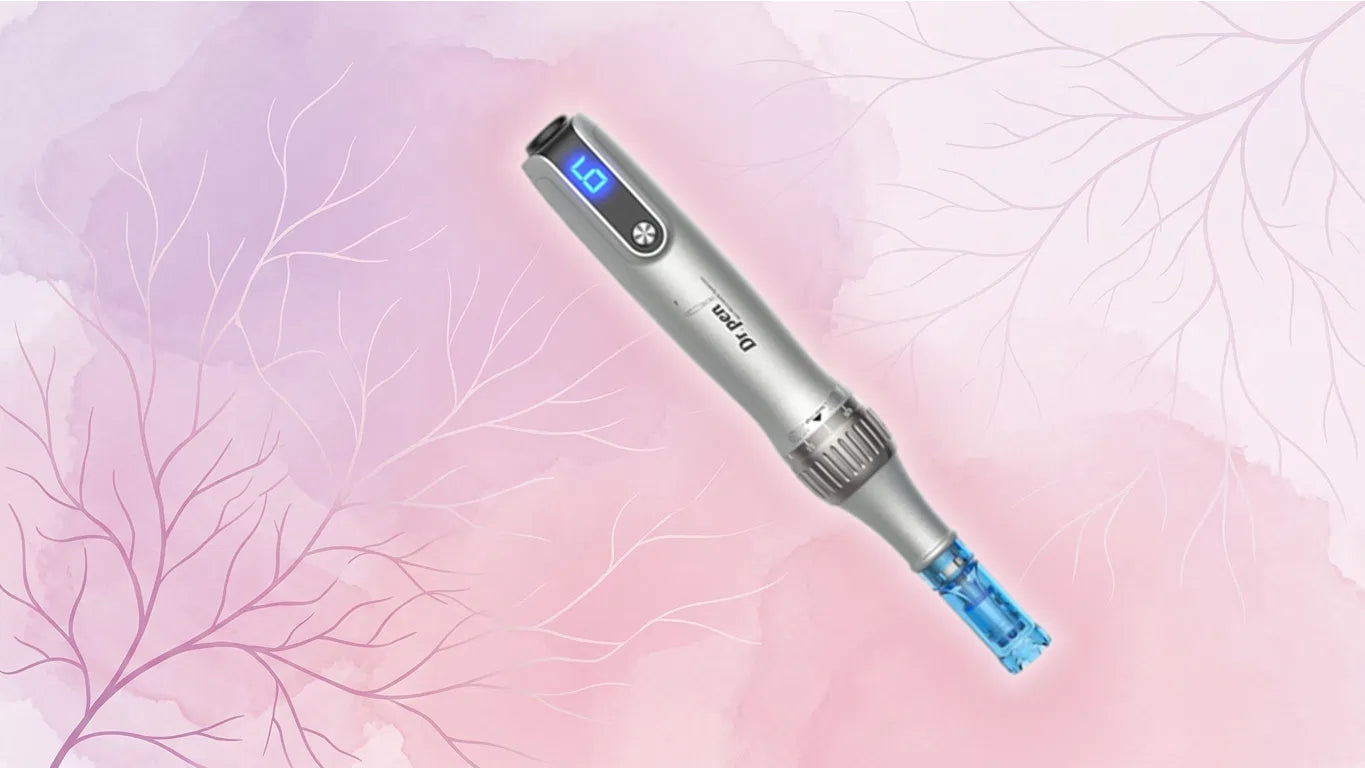
It will tighten, lift, and rejuvenate your skin with ZERO harmful side effects and will boost your self-confidence. Perfect for microneedling treatments, ensuring consistent skincare.
Do you want to do microneedling at home but are unsure how often you should do it? You've come to the right place. This guide will walk you through the basics, such as how often you should microneedle, the microneedling at-home steps, and the best practices to ensure your treatment is safe and successful.
Microneedling device systems are the perfect addition to your skincare routines, offering a range of benefits. One of the primary reasons people use microneedling at home is because it is convenient, affordable, and effective. It promotes your skin's natural healing process by causing micro-injuries that increase collagen and elastin synthesis, resulting in firmer, smoother, and more youthful-looking skin.
Microneedling at home can help to reduce the appearance of fine lines, wrinkles, acne scars, hyperpigmentation, enlarged pores, and stretch marks. It also improves skin texture and tone while increasing the absorption of your favorite serums and skincare products, making them more effective.
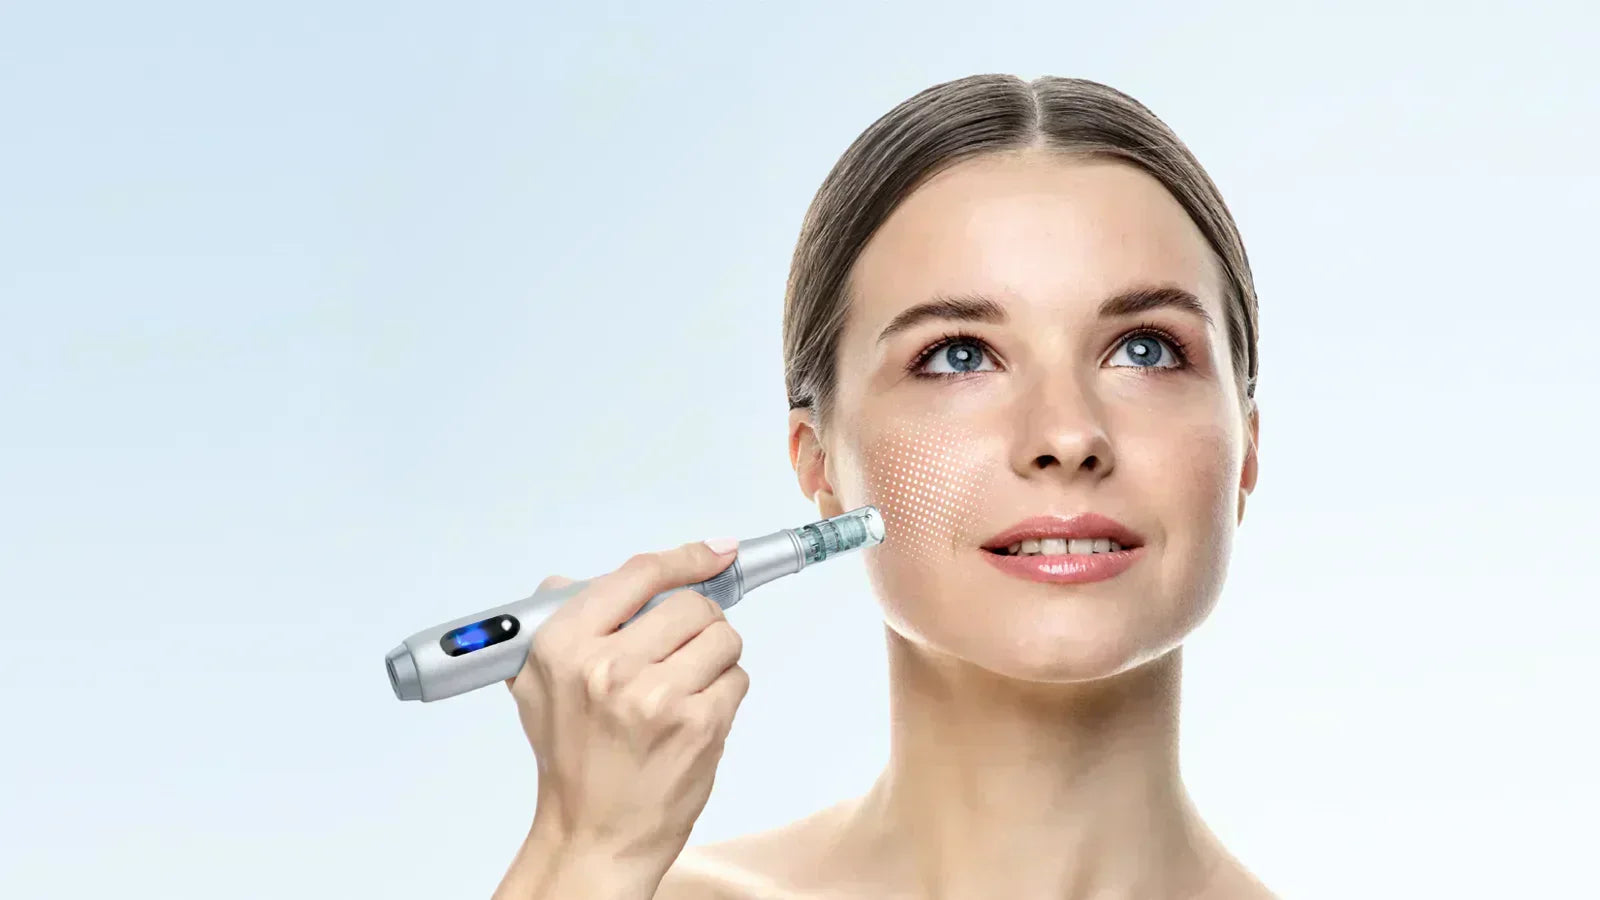
The benefits are undeniable, whether you're treating your face, neck, and body or microneedling under your eyes at home. With the help of Dr. Pen's microneedling systems for home use, you can achieve clinic or spa-quality results without leaving the house.

It will tighten, lift, and rejuvenate your skin with ZERO harmful side effects and will boost your self-confidence. Perfect for microneedling treatments, ensuring consistent skincare.
If you've been wondering, "Can you microneedle at home?" or "Is microneedling at home safe?" the answer is yes, and it's easier than you may think. With the right tools, like a high-quality microneedling pen, and proper technique, you can easily and safely achieve glowing, healthy skin without leaving home.
These next five steps will help you have a smooth, successful, and safe microneedling experience each time:
Start by adequately disinfecting your microneedling device. Use 70% isopropyl alcohol to sanitize your needle cartridge and pen tip. This procedure is necessary to limit the chance of germs entering the skin and preventing infection.
Use a soft, non-stripping cleanser to remove dirt, oil, and makeup from your face. A clean surface prepares your skin for treatment and helps serums penetrate more easily after the session.
Attach your sterile needle cartridge to your microneedling pen at home and adjust the needle depth based on the treated region. Glide the pen lightly across your skin in horizontal, vertical, and diagonal directions. Don't use too much pressure, and you want to let the pen do the work.
It's also important to remember that microneedling beneath the eyes at home requires a shorter needle depth and more attention owing to the sensitive skin in that area.
After the treatment, wash your skin with cold, clean water. Gently pat dry with a gentle cloth. Avoid vigorous rubbing and exfoliating products.
Once you're done, discard the needle cartridge and thoroughly clean your pen with alcohol. Always keep your pen clean and dry until you're ready to use it again.
Consistency and proper upkeep are essential for getting the most out of your microneedling at-home routine. Always emphasize hygiene, do each step carefully, and use high-quality products.
With frequent treatments, you'll quickly see that your skin becomes smoother, firmer, and healthier over time — all from the convenience of your own home.
The post-treatment period is ideal for nourishing your skin since it is ready to absorb skincare products deeply. Here are some of the best serums for usage after microneedling:
These serums enhance the benefits of microneedling and expedite your skin's healing and regeneration process. Be careful to use soothing, fragrance-free solutions designed exclusively for post-treatment care.
If you're planning on doing a microneedling pen at home, then you may be wondering how often to do it. That depends on your skin's needs and the needle depth you're using.
For shallow treatments (0.25mm–0.5mm), you can microneedle every 1 to 2 weeks. For deeper treatments (0.75mm–1.5mm), every 4 to 6 weeks is recommended to allow your skin time to heal correctly and build new collagen.
Consistency is essential, but more frequent treatments may not always produce faster benefits. Always listen to your skin and give it plenty of time to heal between sessions. Overuse can cause discomfort or harm, particularly in sensitive regions. Follow a routine that promotes your skin's natural regeneration process for safe, radiant results.

New and improved model. Powerful and fast-acting skin rejuvenation. Can be used in wireless mode. Have a facial anywhere, anytime.
One of the biggest misconceptions about microneedling is that it's painful or risky. In reality, microneedling at home causes only minimal discomfort when done correctly. With proper technique and aftercare, the treatment is safe and effective, helping your skin heal smoothly and deliver outstanding results without unnecessary irritation or risk.
While microneedling under the eyes at home or other sensitive parts of your skin, such as your neck or thighs, may cause potential concern of pain, there is typically no discomfort associated with this type of treatment, as long as you're gentle and take your time in those delicate areas.
If you follow all of the steps for cleanliness and sanitation, there is no reason to worry about infections. In addition, following the right aftercare and avoiding common factors such as NSAIDS, excessive sweating, sun exposure, and harsh skin care will help your skin heal better and thrive.
The correct selection of cartridges for the microneedling pen is also essential to reduce soreness. Selecting the number of needles and the depth of punctures depending on the treated area, as well as thinner needles (mainly used in 16/18 needle cartridges), further reduce discomfort.
Microneedling at home is one of the most convenient options for achieving the results you're looking for. By using our step-by-step guide and choosing the best serums following your treatment, you can expect to see smoother, healthier, and more radiant skin—right from the comfort of your own home. To find the perfect at-home Dr. Pen for your needs, visit our website or contact us today!
Minimize Your Spider Veins with Microneedling
Discover how microneedling for the neck and chest helps reduce wrinkles, improve skin texture, and restore firmness by boosting collagen production for smoother, healthier-looking skin
Smoking after microneedling can slow healing and reduce results. Learn how nicotine affects collagen, recovery time and skin regeneration