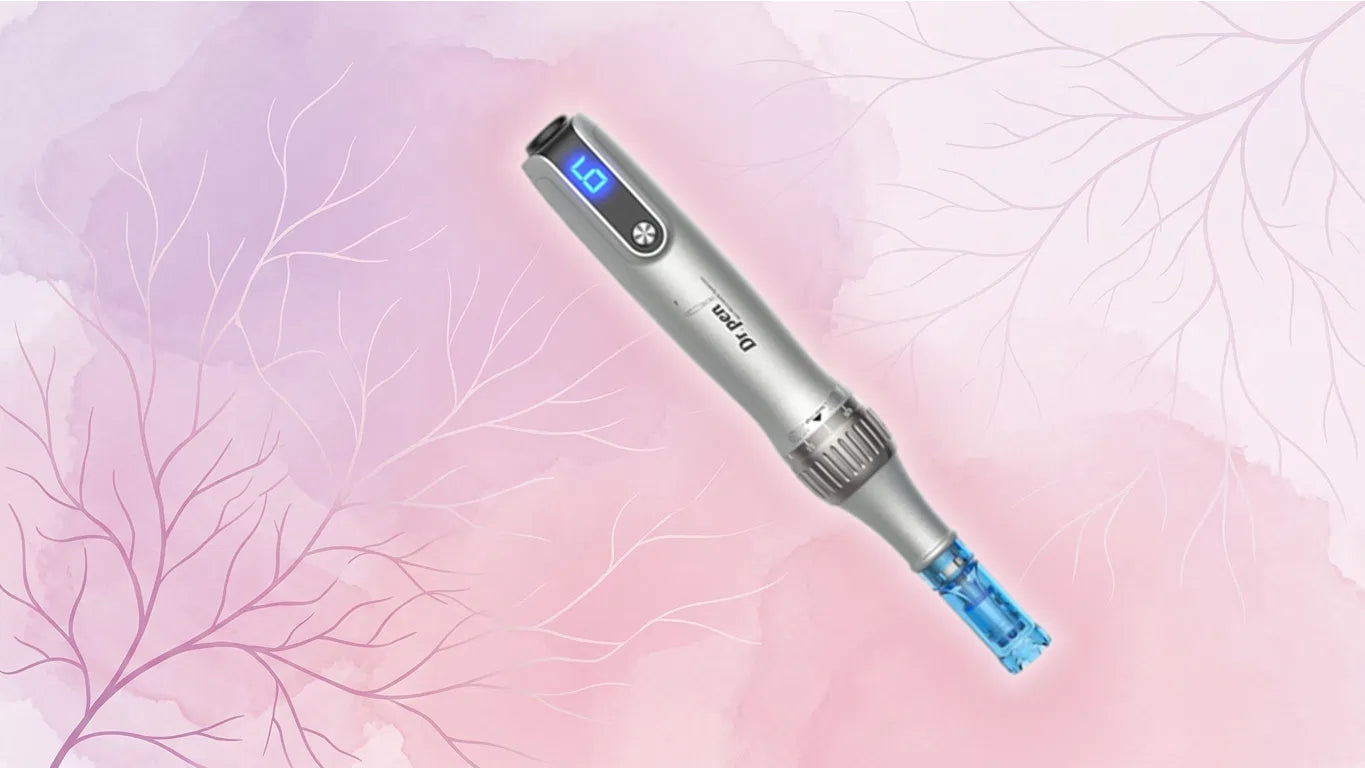
Shine bright like a diamond: The derma stamp is a gentle and efficient solution to make your skin look smooth and beautiful. Adjustable needle length - from 0.5mm to 3.00mm. Cone-shaped individual titanium pins. Protective needle cap.
A dermastamp can be a simple, effective tool for improving skin and scalp health when used with care. With the right technique and preparation, it supports visible results while keeping the skin comfortable and balanced.
In this guide, we will break down how to use a dermastamp safely, with a clear focus on hygiene, proper technique and smart preparation.
Whether you’re new to needling or already using professional tools from Dr. Pen, these safety-first steps help protect your skin and improve your results.

A dermastamp is a compact microneedling tool designed for precise, vertical application on the skin or scalp. It features a flat or slightly rounded stamping head fitted with multiple fine needles arranged in an even pattern.
Unlike a microneedling pen, which moves across the surface, a dermastamp is pressed straight down, lifted and repositioned.This stamping motion works especially well on larger areas, such as the scalp with hair thinning zones, widespread acne scarring, or body zones where you are treating stretch marks.
Dermastamps are available either with a fixed needle length, commonly starting around 0.25 mm and up to 3.0 mm or with an adjustable needle length ranging from 0.25 mm to 3.0 mm; it is recommended to stay at or below 1.0 mm for routine use.
Shorter lengths focus on improving product absorption and gentle stimulation. Longer lengths encourage deeper skin renewal.
Each stamp creates tiny, controlled micro-channels in the skin or scalp. These micro-channels activate the body’s natural repair response, encouraging collagen production and supporting healthier skin structure. They also allow serums to absorb more effectively, helping active ingredients reach deeper layers. With consistent, careful use, dermastamping supports skin regeneration, improved texture and stronger overall skin resilience.
This approach is ideal for anyone who prefers a slower, more controlled technique. Its wide stamping surface helps you cover larger areas of skin more quickly and evenly, reducing dragging and helping you maintain consistent penetration depth across the whole treatment zone.
Safety starts before the dermastamp even touches the skin.
Start by washing your hands thoroughly or wearing disposable gloves to reduce contamination. Clean the treatment area with a gentle cleanser that removes oil, makeup and residue, then allow the skin to dry fully.
Disinfect the dermastamp using isopropyl alcohol and let it air-dry on a clean surface. Never share your dermastamp with anyone else, even within the same household, to avoid cross-contamination and infection risks.
Choosing the correct needle size matters as much as hygiene. Shorter lengths suit beginners and routine treatments, while needle lengths longer than 1 mm should only be used by professionals.
Always make sure to inspect the skin before treatment and avoid areas with irritation, infection or active breakouts.
Proper preparation protects the skin, limits risk and creates a safe foundation for consistent results. Calm preparation will encourage confidence, precision and comfort throughout every session at home or clinic.

Shine bright like a diamond: The derma stamp is a gentle and efficient solution to make your skin look smooth and beautiful. Adjustable needle length - from 0.5mm to 3.00mm. Cone-shaped individual titanium pins. Protective needle cap.
Here’s a simple, step-by-step guide to help you use a dermastamp safely and confidently:
Cleanse the treatment area with a gentle, non-irritating cleanser to remove oil, makeup and buildup. Pat the skin completely dry using a clean towel so no moisture or residue remains before stamping.
Disinfect the skin using an alcohol-free antiseptic such as saline or chlorhexidine. Allow the solution to fully absorb and dry to create a clean surface before starting the procedure.
Hold the dermastamp vertically and press it gently into the skin without dragging. Work in a clear, section-by-section pattern to achieve even coverage.
Use light to moderate pressure and let the needles penetrate naturally. Pressing harder does not improve results and increases the risk of irritation or bruising.
Stamp each spot no more than two or three times before moving on. The process should remain calm, controlled and never rushed.

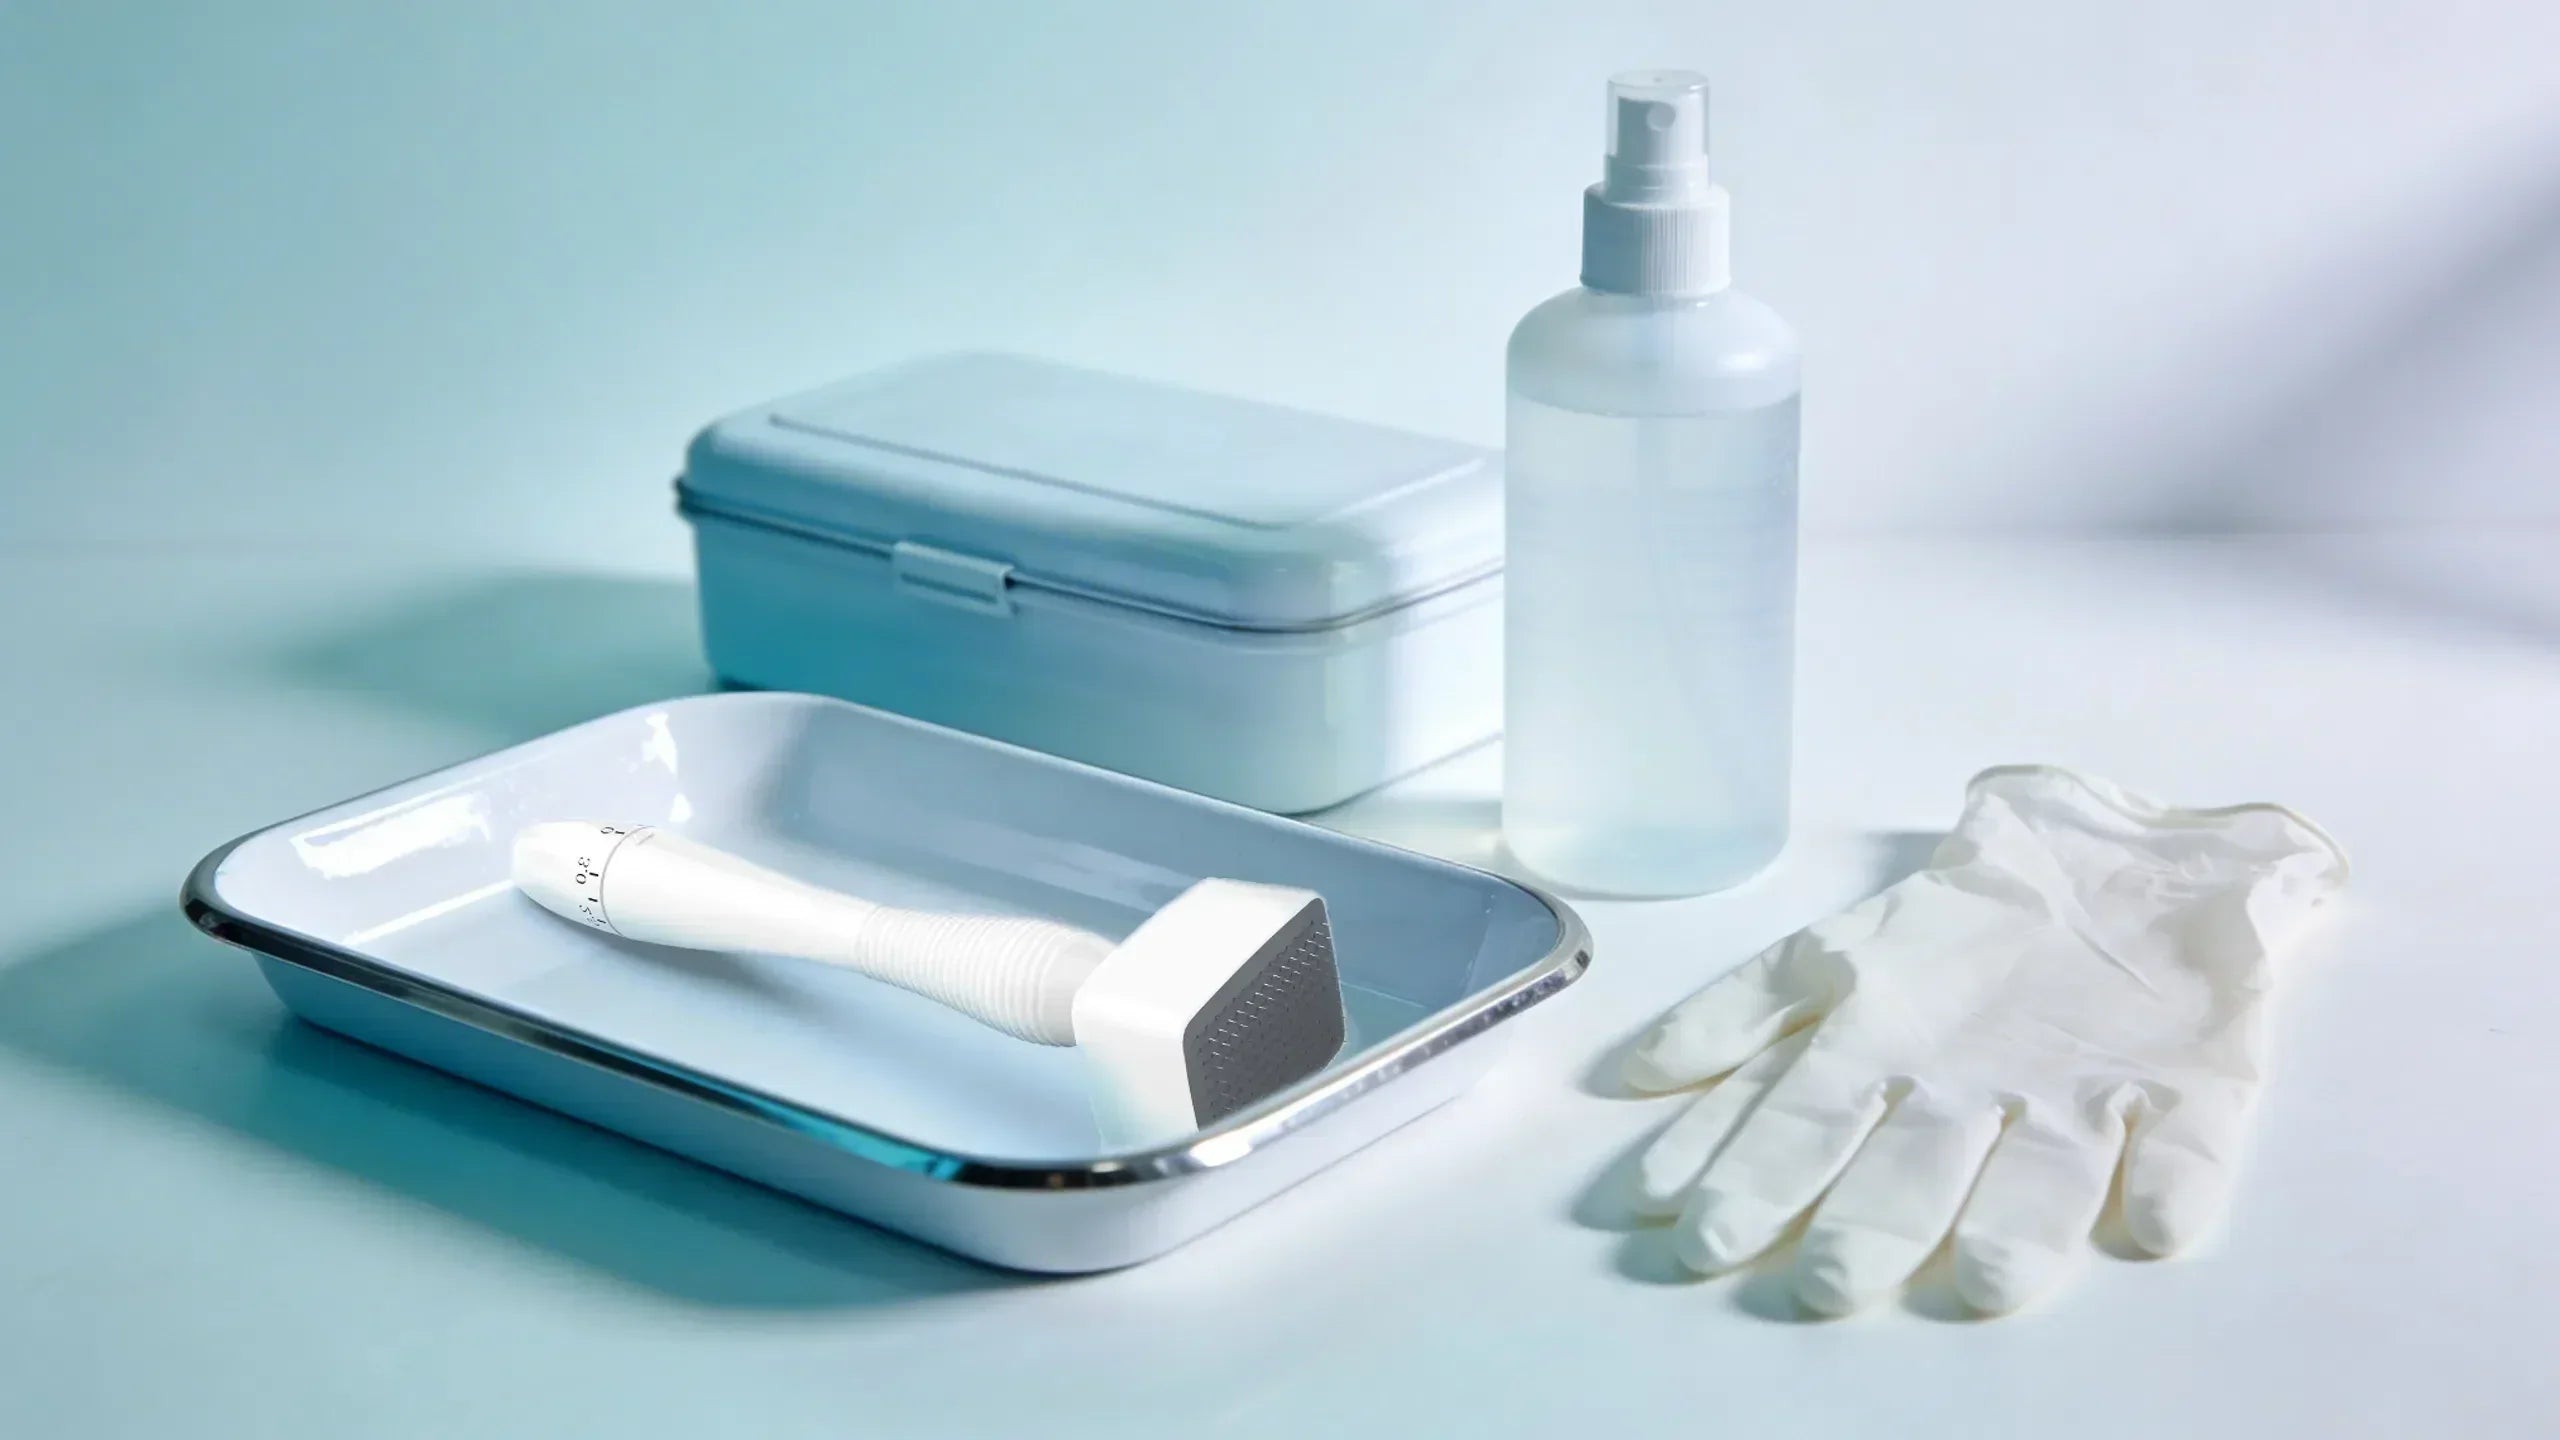
Hygiene and sterilization are the foundation of safe dermastamp use. Before every session, the device must be properly disinfected to reduce the risk of irritation or infection. Follow these steps:
Start by placing the needle head into medical-grade isopropyl alcohol, making sure the needles are fully submerged. Allow it to soak for at least ten minutes so bacteria and residue are neutralized.
Once soaking is complete, remove the dermastamp and place it on a clean, dry surface. Let it air-dry completely. Avoid towels, tissues or cotton pads, since fibers can cling to the needles and compromise cleanliness. Air-drying keeps the needles clean and sharp.
After treatment, repeat the same disinfection process right away. This step removes any remaining product, skin particles or moisture before storage. When fully dry, store the dermastamp in a clean, closed container away from humidity, dust and direct light. Proper storage helps preserve needle quality between sessions.
Your dermastamp is a personal device and must never be shared with anyone else, even family members. Sharing increases the risk of transmitting bacteria, viruses and other pathogens between users, which can lead to infections, irritation and delayed healing. Each person should use their own dermastamp to keep treatments as safe and hygienic as possible.
Clean hands, disinfected surfaces and fresh needle heads all work together. Consistent hygiene habits protect the skin, support healing and keep dermastamping a controlled, reliable treatment rather than a preventable risk.
Many dermastamp issues come from simple mistakes that can be avoided.
Using excessive pressure is common and often leads to bruising or unnecessary skin trauma. Pressing harder does not create better results and increases irritation risk.
Another mistake is stamping over inflamed, broken or actively irritated skin, which raises the chance of infection and delayed healing.
One common mistake is sharing a dermastamp with other people. Even if the needles look clean, they can still carry bacteria and other pathogens from one user to another, so each person should always use their own device and never share it, even within the same household.
Treating too frequently is another problem. The skin needs recovery time to rebuild collagen and restore its barrier. Skipping recovery leads to prolonged redness and sensitivity.
Incorrect needle length selection adds risk as well, since using the wrong setting can irritate the skin and slow proper healing.
Avoiding these mistakes helps keep the skin healthy, treatments comfortable and dermastamping safe and effective over time.

Stayve Repair Cream provides intensive hydration and repair for face and body skin. Ideal for post-procedure care and soothing irritated or damaged skin.
How often you use a dermastamp should be guided by how your skin responds and how much recovery it needs. Lighter treatments can be done more regularly, while stronger sessions require more time in between so the skin can heal properly.
Very short needles around 0.25 mm are often used weekly to support product absorption. Medium settings near 0.5 mm usually work best every two weeks. Treatments around 1.0 mm need longer healing time, so spacing sessions every three to four weeks is more appropriate. Needle lengths longer than 1 mm should only be used by professionals.
Using a dermastamp too often does not speed up results. It usually leads to irritation and sensitivity. Skin builds collagen during rest, not constant treatment. Giving your skin time to recover keeps results steady, comfortable and predictable over time.
Safe dr pen dermastamping depends on proper preparation, hygiene, technique and patience.
Using clean tools, choosing the right needle settings and keeping pressure controlled all help protect the skin during treatment. Giving enough time between sessions lets the skin repair itself naturally without added stress.
When safety comes first, your Dr. Pen dermastamping becomes a reliable method for improving skin or scalp condition while minimizing risks and supporting long-term results.
Ready to take the next step? Visit the Dr. Pen website for expert advice, helpful resources and to explore dermastamp options made for safe, effective microneedling at home!
Minimize Your Spider Veins with Microneedling
Discover how microneedling for the neck and chest helps reduce wrinkles, improve skin texture, and restore firmness by boosting collagen production for smoother, healthier-looking skin
Smoking after microneedling can slow healing and reduce results. Learn how nicotine affects collagen, recovery time and skin regeneration