Shine bright like a diamond: The derma stamp is a gentle and efficient solution to make your skin look smooth and beautiful. Adjustable needle length - from 0.5mm to 3.00mm. Cone-shaped individual titanium pins. Protective needle cap.
Wondering how to sterilize the derma stamp? You’re in the right place.
Proper cleaning and sterilization of your derma stamp (or derma roller) is essential, whether you're using a clinic tool or a trusted at-home device like the DRS 140. Sanitizing not only prevents infection, but also ensures each micro needling session delivers optimal skin results and maximizes tool longevity.
In this guide, we'll cover every step, including what to use to clean the derma stamp, preparing your tool for cleaning, soaking and drying techniques, and more. You'll also find answers to common questions about how to clean the derma stamp.

Shine bright like a diamond: The derma stamp is a gentle and efficient solution to make your skin look smooth and beautiful. Adjustable needle length - from 0.5mm to 3.00mm. Cone-shaped individual titanium pins. Protective needle cap.
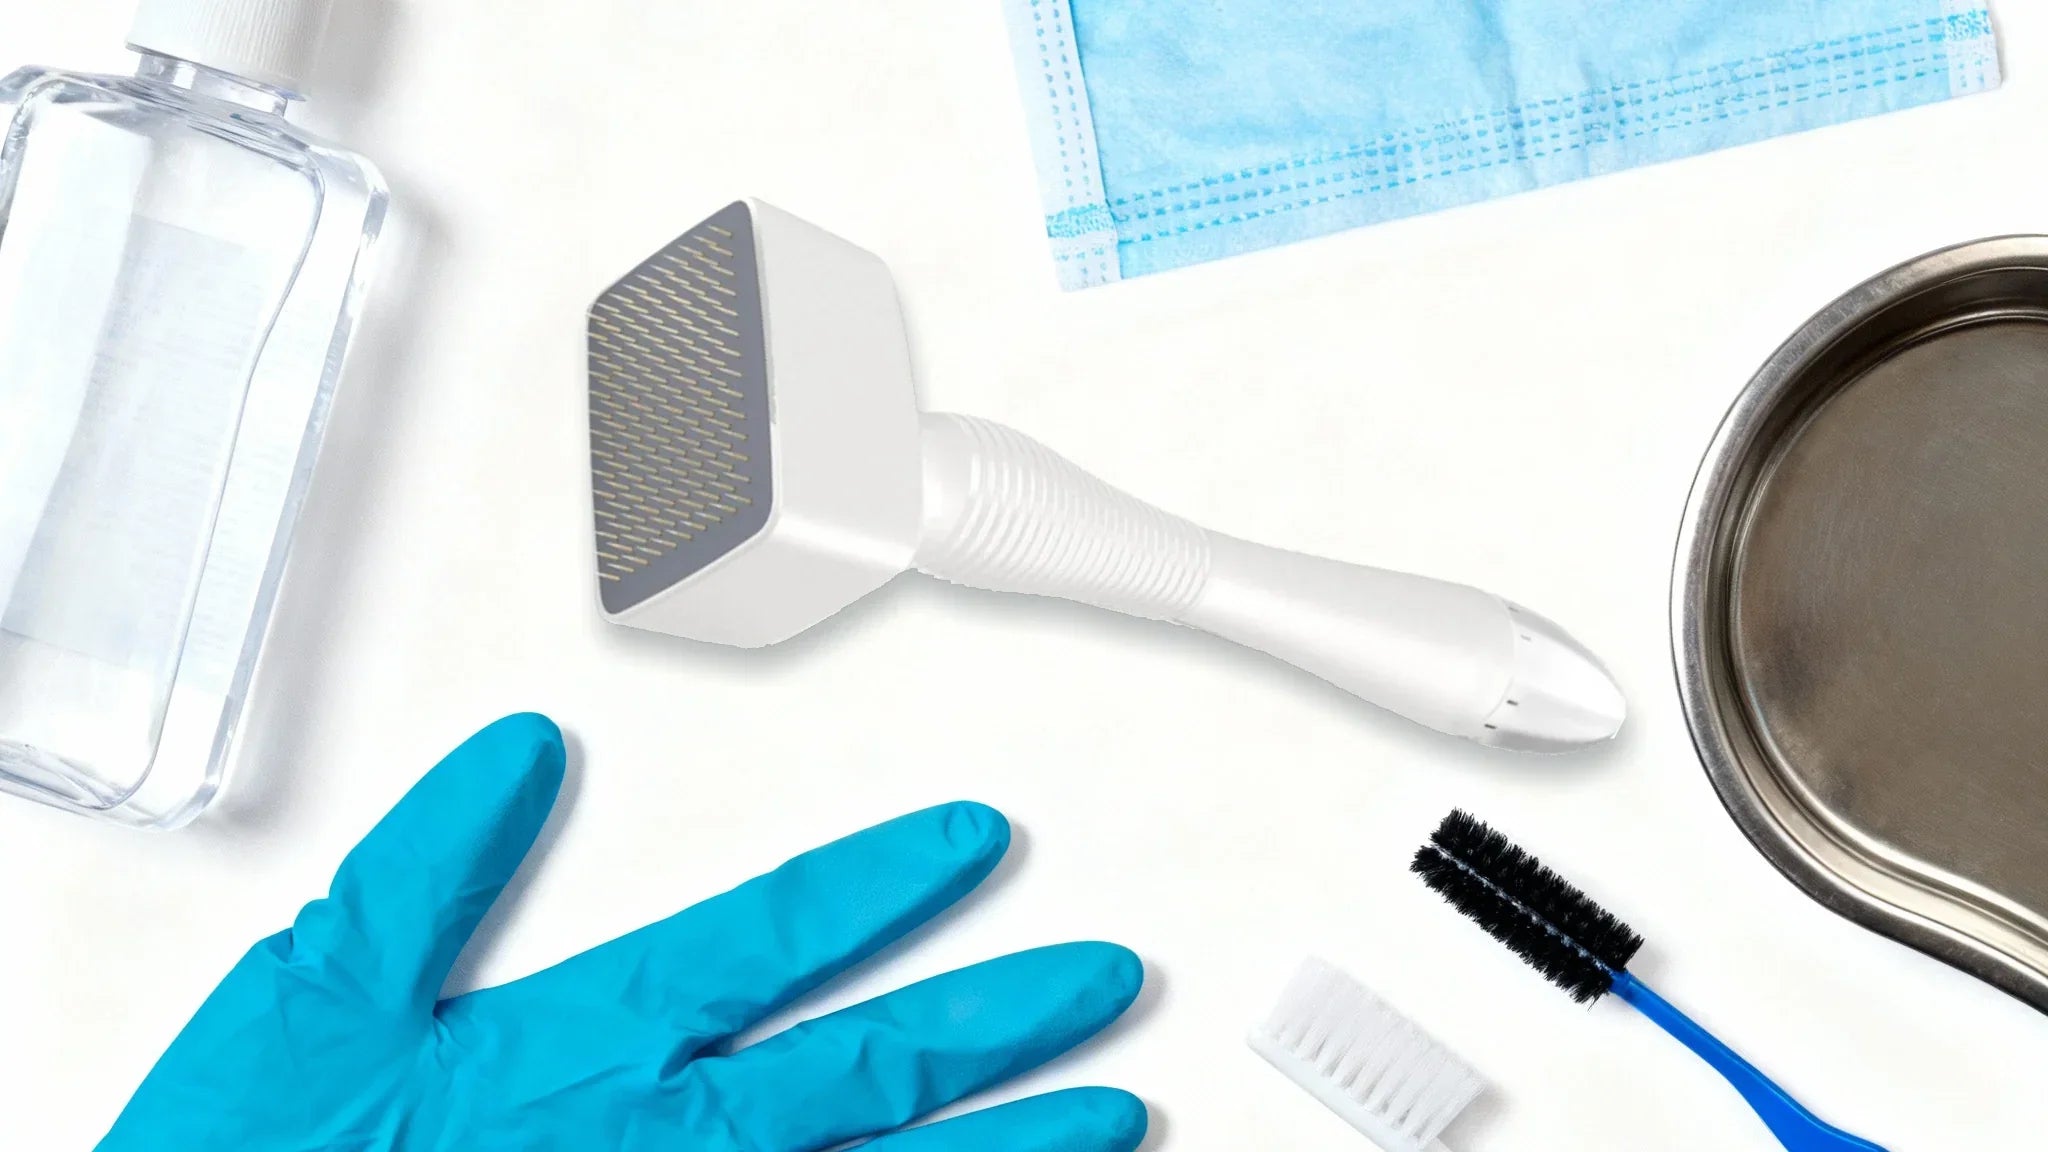
Before jumping into sterilization, make sure you gather the right tools first. Here are some of the essential supplies for cleaning a derma stamp:
Each of these items helps maintain hygiene and ensures your sessions remain safe. Avoid harsh chemicals like bleach. Use hydrogen peroxide only if the manufacturer explicitly permits it, as it can corrode needle tips over time. Always follow the manufacturer's guidelines, especially when using Dr. Pen or Dr. Pen-compatible devices, to preserve function and warranties.
Start by gently cleansing away makeup, dust and leftover serums with a mild cleanser or baby shampoo. Rinse the derma stamp with warm water to clear away debris, then slip on disposable gloves.
Important: The DRS140 and similar manual dermastamps have a fixed, non-removable needle head. Do not attempt to twist off or detach any parts - there are no removable cartridges on these devices. Simply remove the protective plastic cap that covers the needles.
After removing the cap, inspect the needle plate for buildup or dried product. Use a soft brush to gently clean around the needles, brushing in line with the needle direction. Make sure to never brush at an angle or across them, since this might deform or dull the needles.
If your derma stamp has any additional protective covers or sleeves, remove them and clean them separately. Before soaking, wash the needle area with a light soap solution and thoroughly rinse under running water.
Taking time to properly prepare the device ensures every area gets cleaned effectively. If you skip this step, bacteria can stay trapped around the needle plate, reducing sterilization effectiveness and affecting both safety and results.
Keeping your derma stamp sterile is essential for both safety and results. Soaking the device correctly eliminates bacteria, prevents infection and ensures each session is hygienic. Learning the right techniques helps protect your skin and extends the lifespan of your tool.
Choose a disinfectant solution that will eliminate bacteria without harming the equipment. The most common and effective option is soaking in 70-90% isopropyl alcohol. Another safe method is using a diluted medical-grade instrument disinfectant prepared according to the manufacturer's directions.
Avoid caustic cleansers such as bleach. Use hydrogen peroxide only if your device manufacturer specifically allows it, as prolonged exposure can damage needle tips and metal components.
Place the derma stamp into a clean glass or plastic tray. Submerge only the needle head portion completely - never immerse the handle if it's not rated for full submersion. The fixed needle head design means you cannot separate parts, so be careful to keep the handle dry during soaking.
A 10-minute soak in isopropyl alcohol is usually sufficient for effective disinfection. For medical-grade disinfectants, follow the manufacturer's instructions, which typically recommend 10-20 minutes. Set a timer to prevent over-soaking, as prolonged contact can corrode metal components over time.
After soaking, carefully lift the stamp and allow excess disinfectant to drip off naturally. If you used a disinfectant other than alcohol, check the label to see if rinsing with clean water is required. When using isopropyl alcohol, additional rinsing is typically unnecessary and can reintroduce moisture.
Avoid applying excessive pressure or shaking that may cause needles to bend. Place the stamp needle-side down on a clean, lint-free towel and allow it to air dry completely, which may take 30 minutes to an hour.
Never use heat sources, hair dryers, or fans for drying, as these can introduce airborne contaminants and potentially affect the metal components. Complete air drying is essential before moving to the next step.
Once completely dried, inspect under bright light to ensure there is no remaining moisture or debris before proceeding with final disinfection or storage.
For added protection after drying, you can perform a final disinfection step. Briefly expose the clean, dry needle head to 70-90% alcohol and allow to air-dry once more for ultimate disinfection.
Alternatively, place the dried, cleaned derma stamp in a UV sterilizer box and run the recommended cycle, typically 5-10 minutes. UV light provides chemical-free sanitization by destroying harmful microorganisms on surfaces. However, UV should be used as a supplemental step after chemical disinfection, not as a standalone method for complex metal surfaces.
Before UV exposure, ensure your device is completely dry and clean. UV sterilization works best on already-disinfected surfaces and can help provide additional peace of mind.
After completely cleaning and drying your derma stamp, it's time to prepare it for storage. Since the DRS 140 has a fixed needle head design, there's no reassembly required.
Begin by washing your hands thoroughly with soap and water or using fresh disposable gloves to avoid contaminating the clean surfaces.
Place the protective plastic cap over the needle head, being careful not to touch the needle plate directly. The cap should fit securely to prevent dust and contaminants from reaching the sterilized needles.
Store the capped dermastamp in a rigid plastic case or clean, sealed container to protect it from dust, humidity and bacteria. Keep the storage case in a cool, dry location away from direct sunlight and temperature extremes. For easier tracking, you can label the container with the most recent cleaning date.
If you have multiple dermastamps or different needle lengths, label and store them separately to avoid confusion. Proper storage is the final stage in the sterilization process, ensuring that your derma stamp remains completely clean, protected, and ready for use at your next skincare session.

A soothing post-treatment cream that restores the skin barrier, locks in moisture, eases redness, and promotes faster surface healing.
Taking care of your derma stamp doesn't just protect your skin - it also keeps the device performing at its best. With the right maintenance habits, you can ensure consistent results, reduce wear and make your tool last longer between replacements. Here are some practical tips to add to your routine:
Proper cleaning and sterilization are just as important as using your derma stamp correctly. With the right supplies, careful soaking, thorough disinfection, complete drying, and responsible storage, you're ensuring both safety and effectiveness for your skincare routine.
The fixed needle head design of devices like the DRS 140 makes maintenance straightforward - no complex disassembly or cartridge replacement needed. Just consistent, thorough cleaning after each use and careful storage between sessions.
Learn more about derma stamps and other microneedling tools, or browse professional-grade devices by visiting the Dr. Pen website!
What is the best Dr. Pen to buy?
Looking for the best Dr. Pen? 🚀 Explore our expert guide to compare top-rated models and find the perfect choice for your needs
Minimize Your Spider Veins with Microneedling
Discover how microneedling for the neck and chest helps reduce wrinkles, improve skin texture, and restore firmness by boosting collagen production for smoother, healthier-looking skin