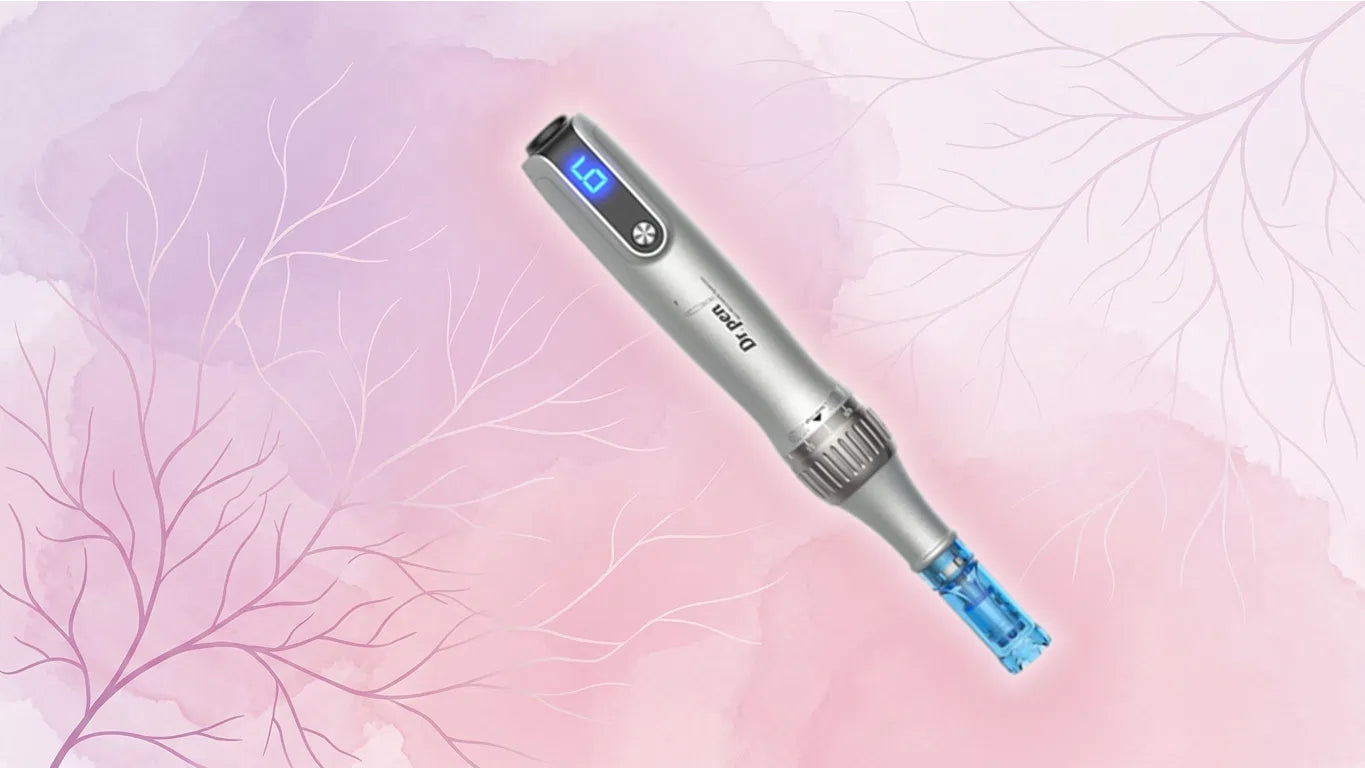
Learning how to microneedle your face properly can transform your skin, but understanding facial structure and technique is essential for safe and effective results. That's where face mapping comes in. By dividing the face into targeted zones, you can use the right microneedling technique and needle depth based on each area's sensitivity and needs.

Whether you're using a professional pen or learning how to microneedle at home with a pen, face mapping helps you treat the right zones the right way. In this guide, we'll show you how to map your face needle in each zone effectively and care for your skin after treatment.

What is Face Mapping?

Face mapping is an easy way to break the face into sections, helping you treat each area based on its unique texture, thickness, and specific skin concerns. This approach allows for a customized microneedling experience.

Each area of the face, like the forehead, cheeks, chin, and under-eye region, has different sensitivity levels and ideal needle depths. Using a microneedling map helps guide your session, ensuring you're not over-treating thin areas or under-treating thicker ones.

This targeted method is especially helpful for beginners or anyone following a Dr. Pen tutorial for at-home treatments.

Dividing the Face Into Zones

For the best results, start by breaking the face into six main zones so you can treat each area with the care it needs.

  1. Forehead.
  2. Between the eyebrows.
  3. Cheeks.
  4. Nose.
  5. Chin.
  6. Jawline and neck.

Each zone may require a different needle depth, which is where a needle depth microneedling face chart comes in handy.

Step-By-Step Process of Microneedling By Zones

Before you begin, cleanse your face thoroughly and apply a numbing cream if needed. Use a sanitized Dr. Pen device with a fresh needle cartridge. If you’re using booster serums, apply them during the treatment. From there, follow these simple steps:

Step 1. Forehead and Between Eyebrows

  • Needle Depth: 0.25 to 0.5 mm.
  • How to Microneedle: Use light pressure and move in vertical, horizontal, and diagonal passes. The skin here is thin, so avoid going too deep. Take extra care while microneedling between eyebrows, this area can be more sensitive.

Step 2. Cheeks

  • Needle Depth: 0.5 to 1.0 mm.
  • How to Microneedle: This is a thicker area that can handle deeper needling. Move the pen in all directions, using medium pressure.

Step 3. Nose

  • Needle Depth: 0.25 to 0.5 mm.
  • How to Microneedle: Be cautious around the tip and bridge. Use a stamping motion for better control. Avoid microneedling too aggressively here, as the skin is bony and sensitive.

Step 4. Chin

  • Needle Depth: 0.5 to 1.0 mm.
  • How to Microneedle: Apply steady pressure and use circular or crisscross strokes to cover this often-textured area.

Step 5. Jawline and Neck (Optional)

  • Needle Depth: 0.5 to 0.75 mm.
  • How to Microneedle: Move in upward strokes along the jaw and neck. These areas can benefit from firming and collagen production.

Step 6. Timing

  • How long should I microneedle my face? Spend about 2 to 3 minutes per zone. In total, how long to microneedle face varies, but most sessions last 15 to 20 minutes.

Remember that needle depth above 1 mm should only be used by trained professionals.

Aftercare Tips After the Procedure

After your session apply aftercare products. Avoid washing your face for several hours, use thermal water if you have to; after 8-12 hours you may gently rinse your face with cool water or a mild cleanser. For at least 24 to 48 hours, avoid cosmetics, exfoliants, and active chemicals like retinol or acids. Instead, use a soothing, hydrating serum, such as hyaluronic acid, to relax the skin.

Even if you're staying indoors, keep your face hydrated and apply a high-SPF sunscreen. For the best healing results, avoid sweating, saunas, and direct sunshine for at least 48 hours.

Your Best Skin Starts With the Right Technique — Try Dr. Pen Now

Face mapping combined with the proper microneedling method can significantly improve your results, especially when used with a high-quality Dr. Pen microneedling device. Contact Dr. Pen for tools, instructions, and expert support, or browse our selection of microneedling pens today

FAQ

How long does shipping take?

We offer guaranteed 2-day UPS air delivery.

If you place your order before 11AM (Monday-Friday), your order will ship the same day from our Indianapolis, IN warehouse and arrive within 2 business days.

Orders placed after 11AM on Friday, or on weekends (Saturday/Sunday), will ship the following Monday and arrive within 2 business days from that shipment date. Free shipping is available on orders over $49.

How deep is microneedling?

The depth depends on your treatment goals. Cosmetic microneedling typically uses 0.25-0.5 mm for serum absorption and glow. Professional treatments targeting scars or wrinkles may reach 1.0-2.5 mm. Depths over 1.0 mm should only be performed by professionals, as deeper penetration requires expertise to ensure both safety and effectiveness.

What is face mapping in microneedling?

Face mapping separates the face into zones such as the forehead, cheeks, nose, chin and around the eyes, allowing each area to be treated with the proper depth, direction and pressure. This process provides uniform coverage, improves outcomes and reduces risks, making microneedling more precise, focused and safe for all skin types.

What motion is recommended for the chin and cheek areas?

Use vertical, horizontal and diagonal passes across the chin and cheeks to ensure full coverage. These areas have thicker skin, so slightly deeper depths are tolerated. Gentle, consistent motion prevents missed spots, helps refine pores, smooths texture and supports collagen stimulation for firmer, healthier-looking skin.

How to microneedle around brows?

Around the brows, use shallow depths and extra caution to avoid delicate hair follicles. Work with light, precise passes and avoid pressing too close to the brow line. Focus instead on the surrounding forehead and upper eyelid zones for safe collagen stimulation without disrupting eyebrow growth.

How to microneedle under the eyes?

Use nano or very shallow needles (0.25-0.5 mm) under the eyes, as the skin is thin and sensitive. Glide gently without applying too much pressure. This technique helps reduce fine lines and puffiness while avoiding damage. Deeper microneedling under the eyes should always be left to professionals.

Latest Stories

View all

Microneedling for Back and Shoulder Acne Scars
  • 9 min read

Microneedling for Back and Shoulder Acne Scars

Discover how microneedling with Dr. Pen devices helps fade back and shoulder acne scars. Real client story, results, sessions, and aftercare tips.

Read more

Enlarged Pores: Should You Choose Peels or Microneedling?
  • 7 min read

Enlarged Pores: Should You Choose Peels or Microneedling?

Discover how microneedling and chemical peels reduce enlarged pores. Learn the differences, benefits, downtime, and which treatment suits your skin.

Read more

Dermastamp for Hair Loss: Does It Work?
  • 8 min read

Dermastamp for Hair Loss: Does It Work?

Learn how derma stamping supports hair growth, improves scalp health, and works best when combined with treatments like minoxidil.

Read more